Years ago, I built a honker of a desktop for gaming and machine learning. Coming from my laptop, I used to feel lot of friction when I switched over to work on it. Gradually, though, I've arrived at a really pleasant way of utilizing its GPU from my daily driver, VSCode on a MacBook.
For those using notebooks professionally this is probably old news, but this is the writeup I needed two years ago.
I'm using:
- Ubuntu
- micromamba for package management
- Jupyter for serving the python kernel
- PyTorch 2.1.2 to support my older GPU, a GTX Titan X
- micromamba for package management
- MacOS
- VSCode
- Remote-SSH extension for remote files and terminal
- Jupyter extension for notebook files
- VSCode
SSH
The first ingredient is an SSH connection between my laptop and my desktop, henceforth client and server. This guide got me through it many years ago.
With that in place, you can use VSCode's Remote-SSH plugin to open the connection. Here's how to do that. After connecting once, you can use the Remote Explorer panel to open future connections without creating a new VSCode window.
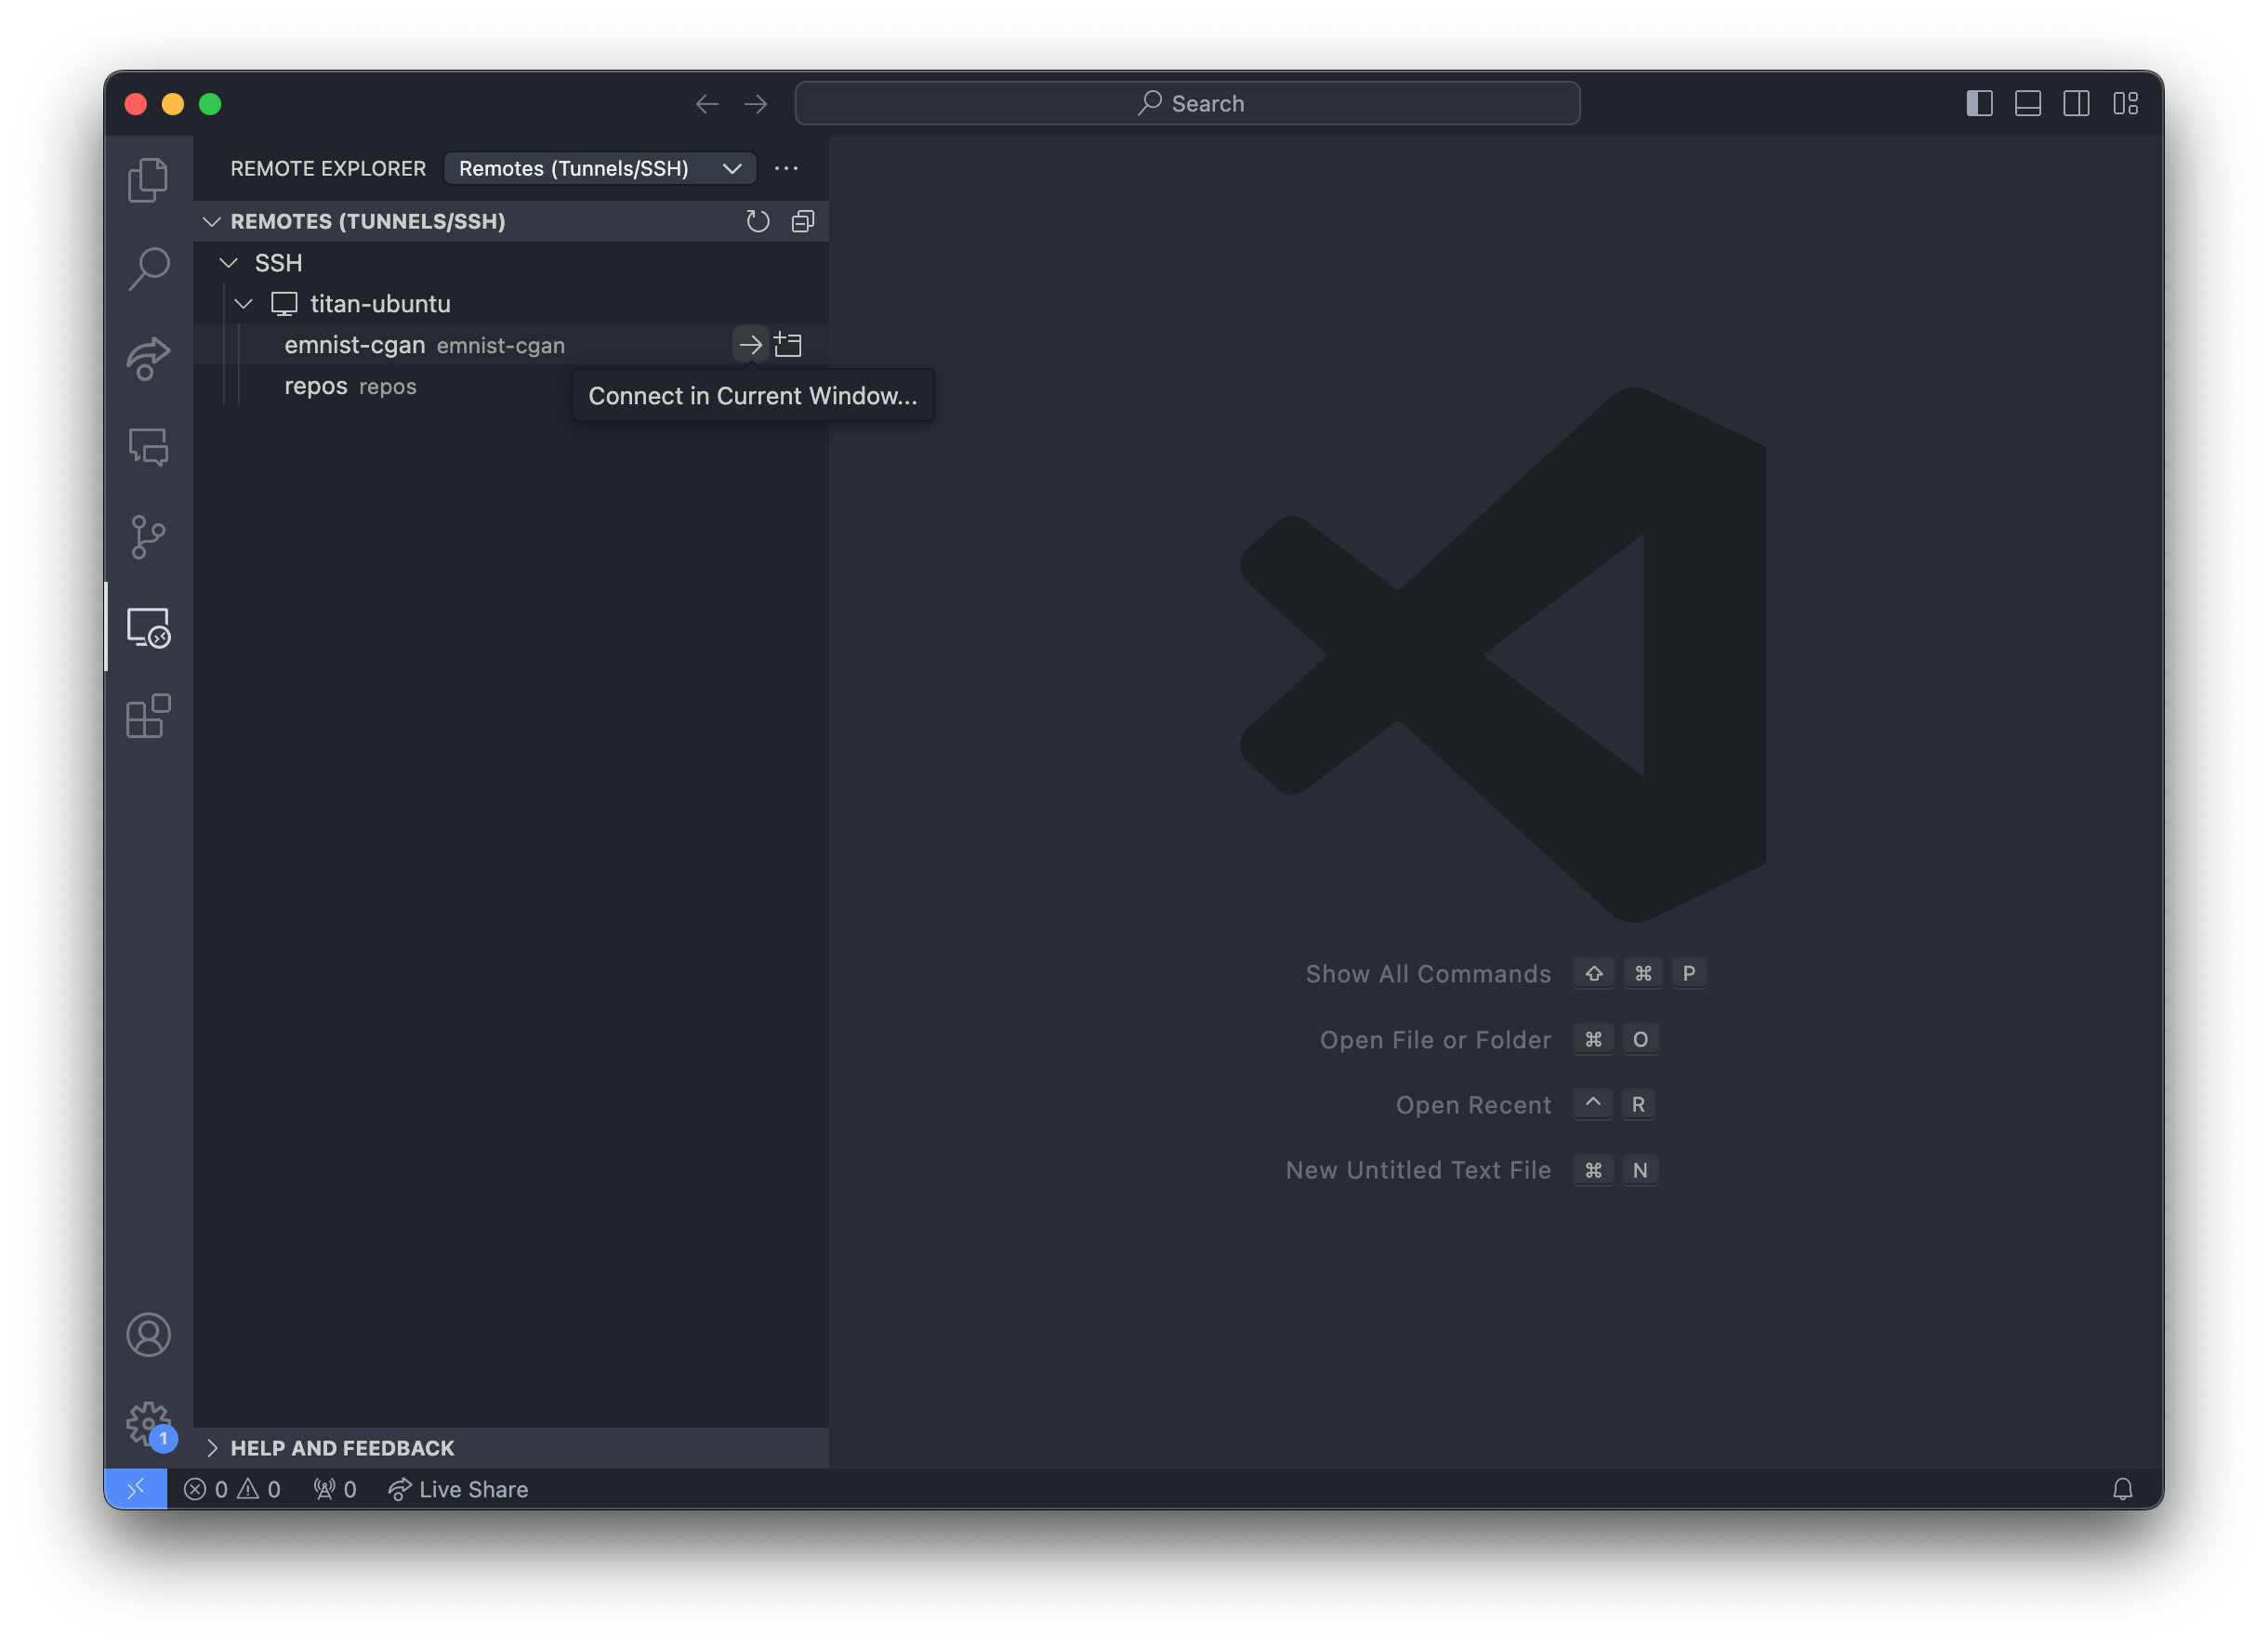
Once the connection is open, the file explorer displays remote files and the terminal is on the server. As with jupyter lab, you can drag files onto the server or download them individually.
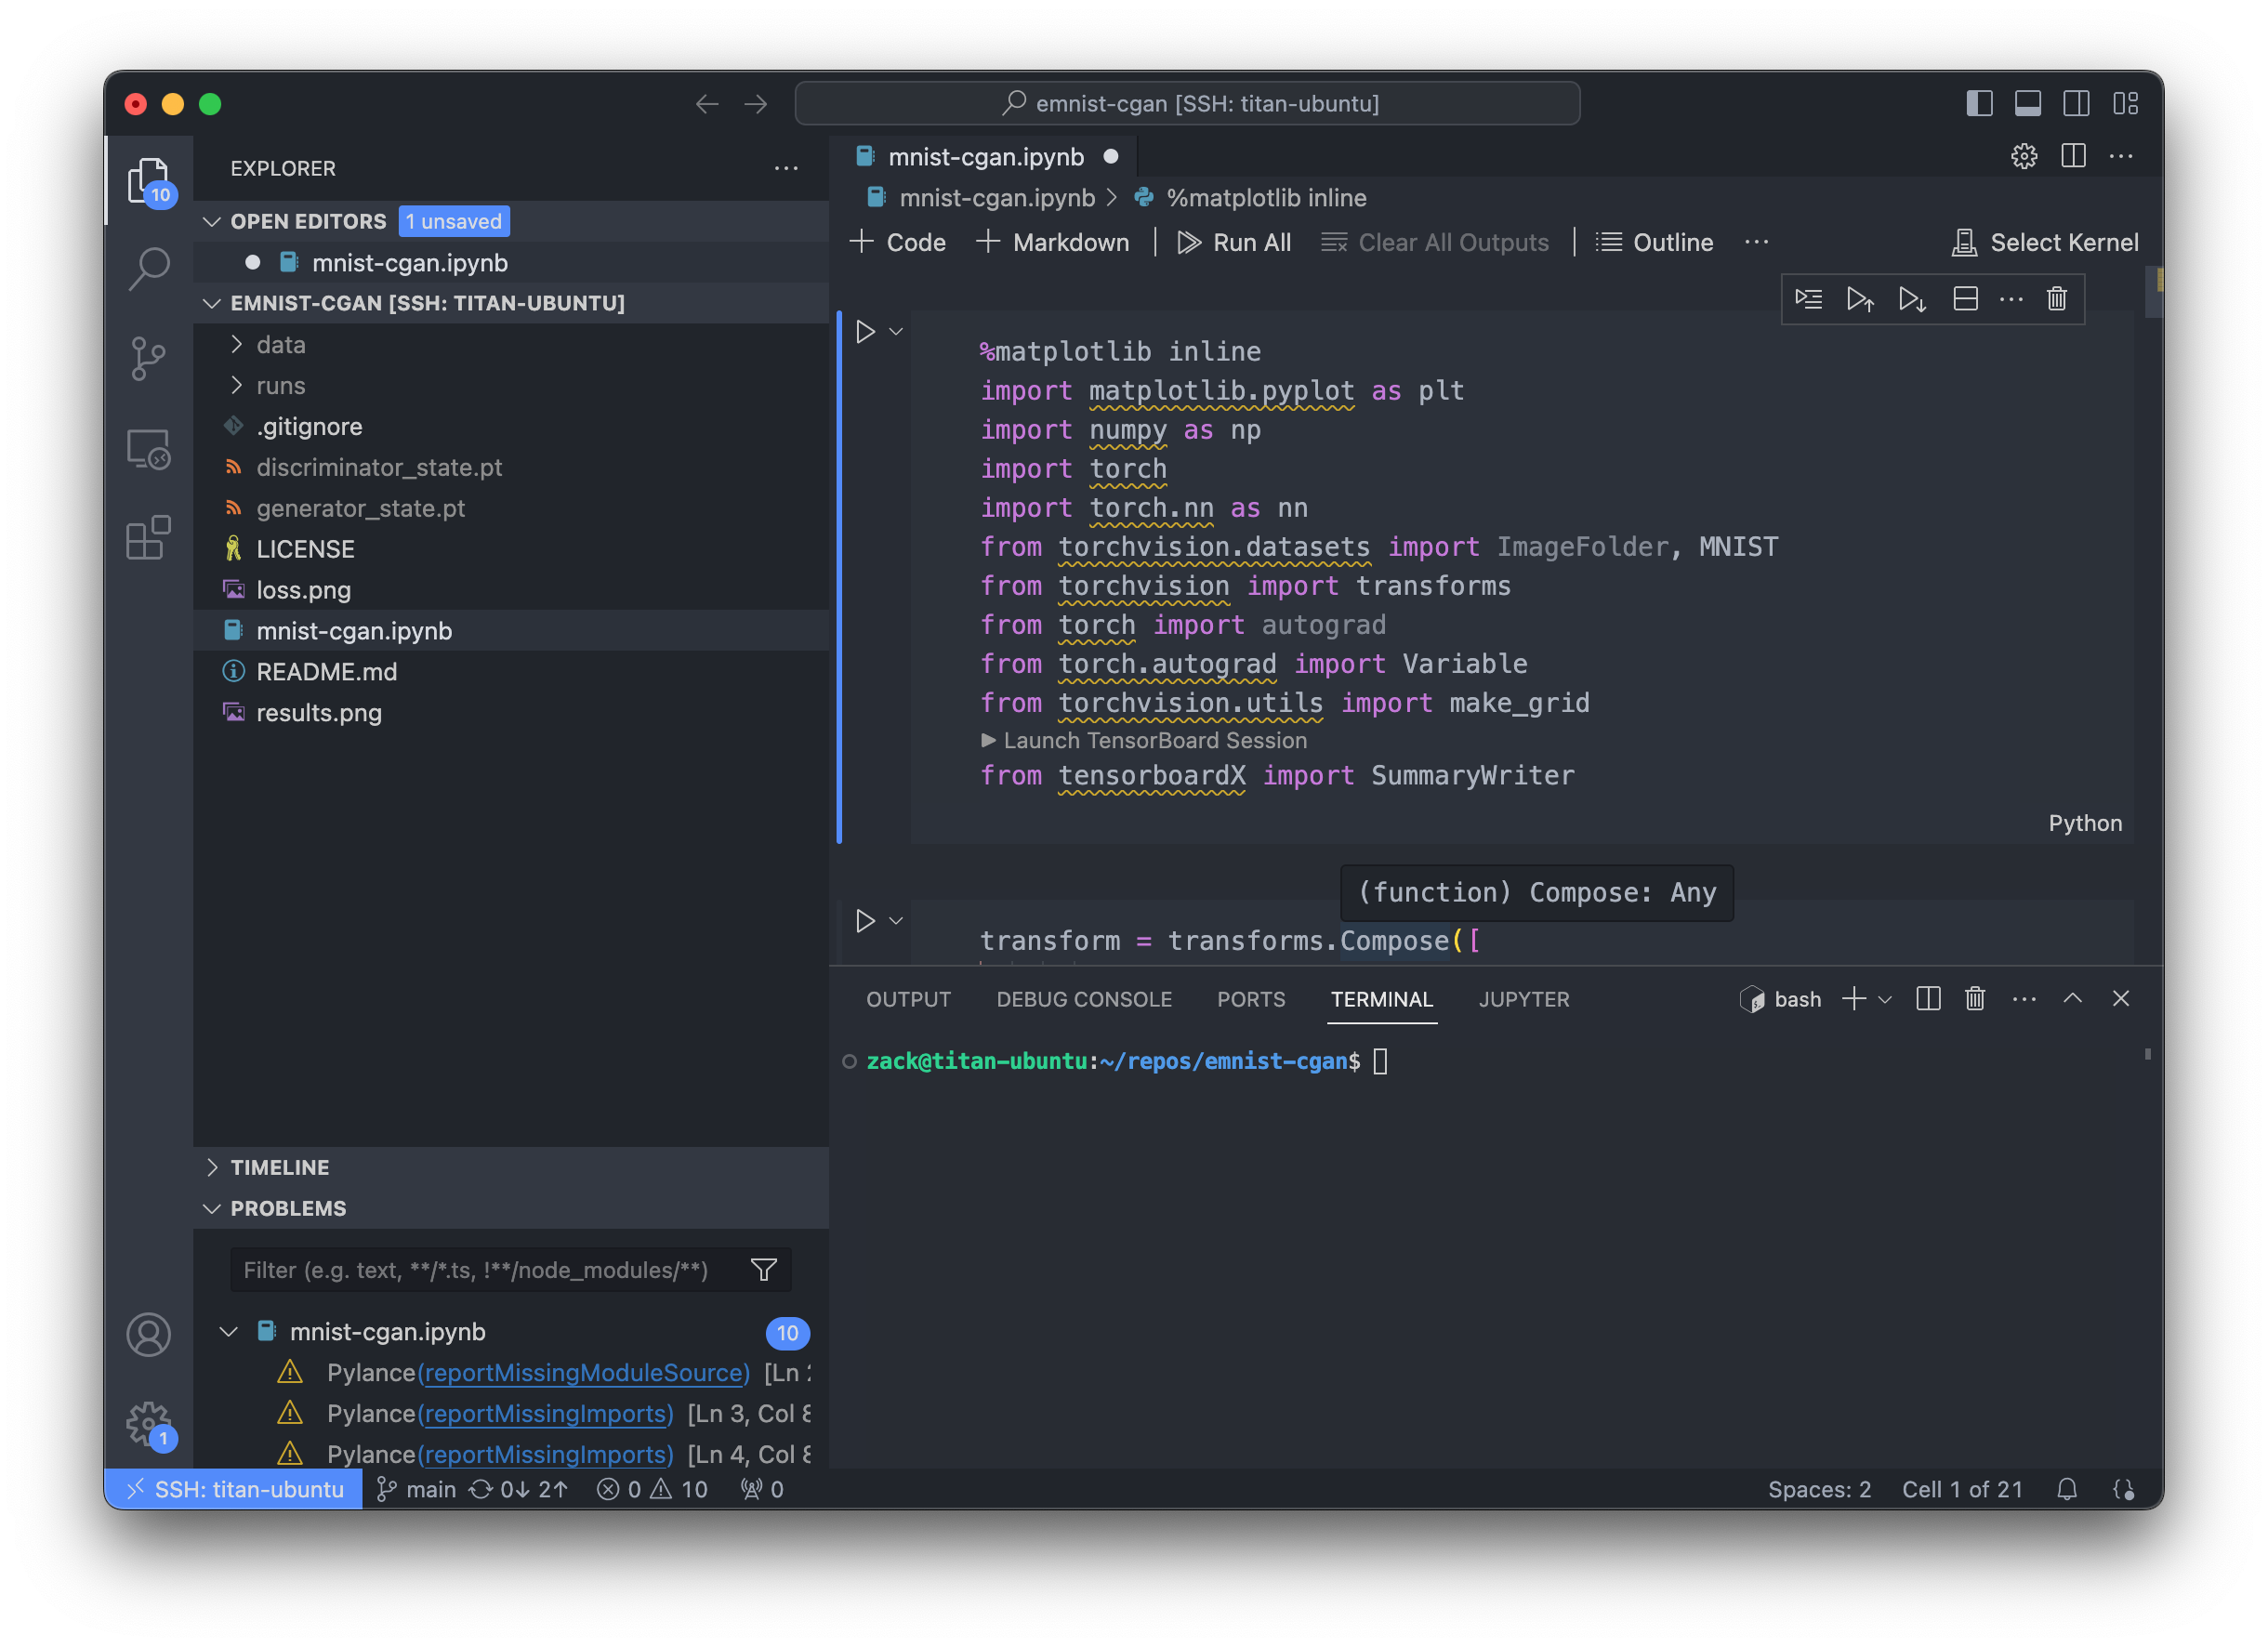
Because this is VSCode there are lots of helpers and annotations, as you can see with all those missing imports. That's one reason I've moved to this from a jupyter-in-browser setup, but the familiarity of the interface would be worth a lot to me even without it.
Package Management
Jeremy Howard recommended mamba in his fast.ai course, and that worked really well for me, but I still accidentally installed things in the base environment. Enter micromamba:
micromamba is a tiny version of the mamba package manager. It is a statically linked C++ executable with a separate command line interface. It does not need a base environment and does not come with a default version of Python.
Micromamba works just like mamba, and it has bash completion. To create and activate a new environment with the bare minimum for this setup:
micromamba create -n jup_test_env jupyter
micromamba activate jup_test_env
Serving Jupyter
I like to use password auth for the jupyter server because it avoids an issue with the jupyter extension, but there are other solutions behind that link. If you haven't set that up before, you can set or change the password with jupyter notebook password
Then serve the Python kernel with jupyter:
jupyter notebook --no-browser --port=8888
and see something like:
[I 2024-03-11 12:40:16.855 ServerApp] Jupyter Server 2.13.0 is running at:
[I 2024-03-11 12:40:16.855 ServerApp] http://localhost:8888/tree
[I 2024-03-11 12:40:16.855 ServerApp] http://127.0.0.1:8888/tree
[I 2024-03-11 12:40:16.855 ServerApp] Use Control-C to stop this server and shut down all kernels (twice to skip confirmation).
Copy that localhost url to your clipboard.
In a notebook file, you can now click "Select Kernel" at the top-right, then select "Existing Jupyter Server".
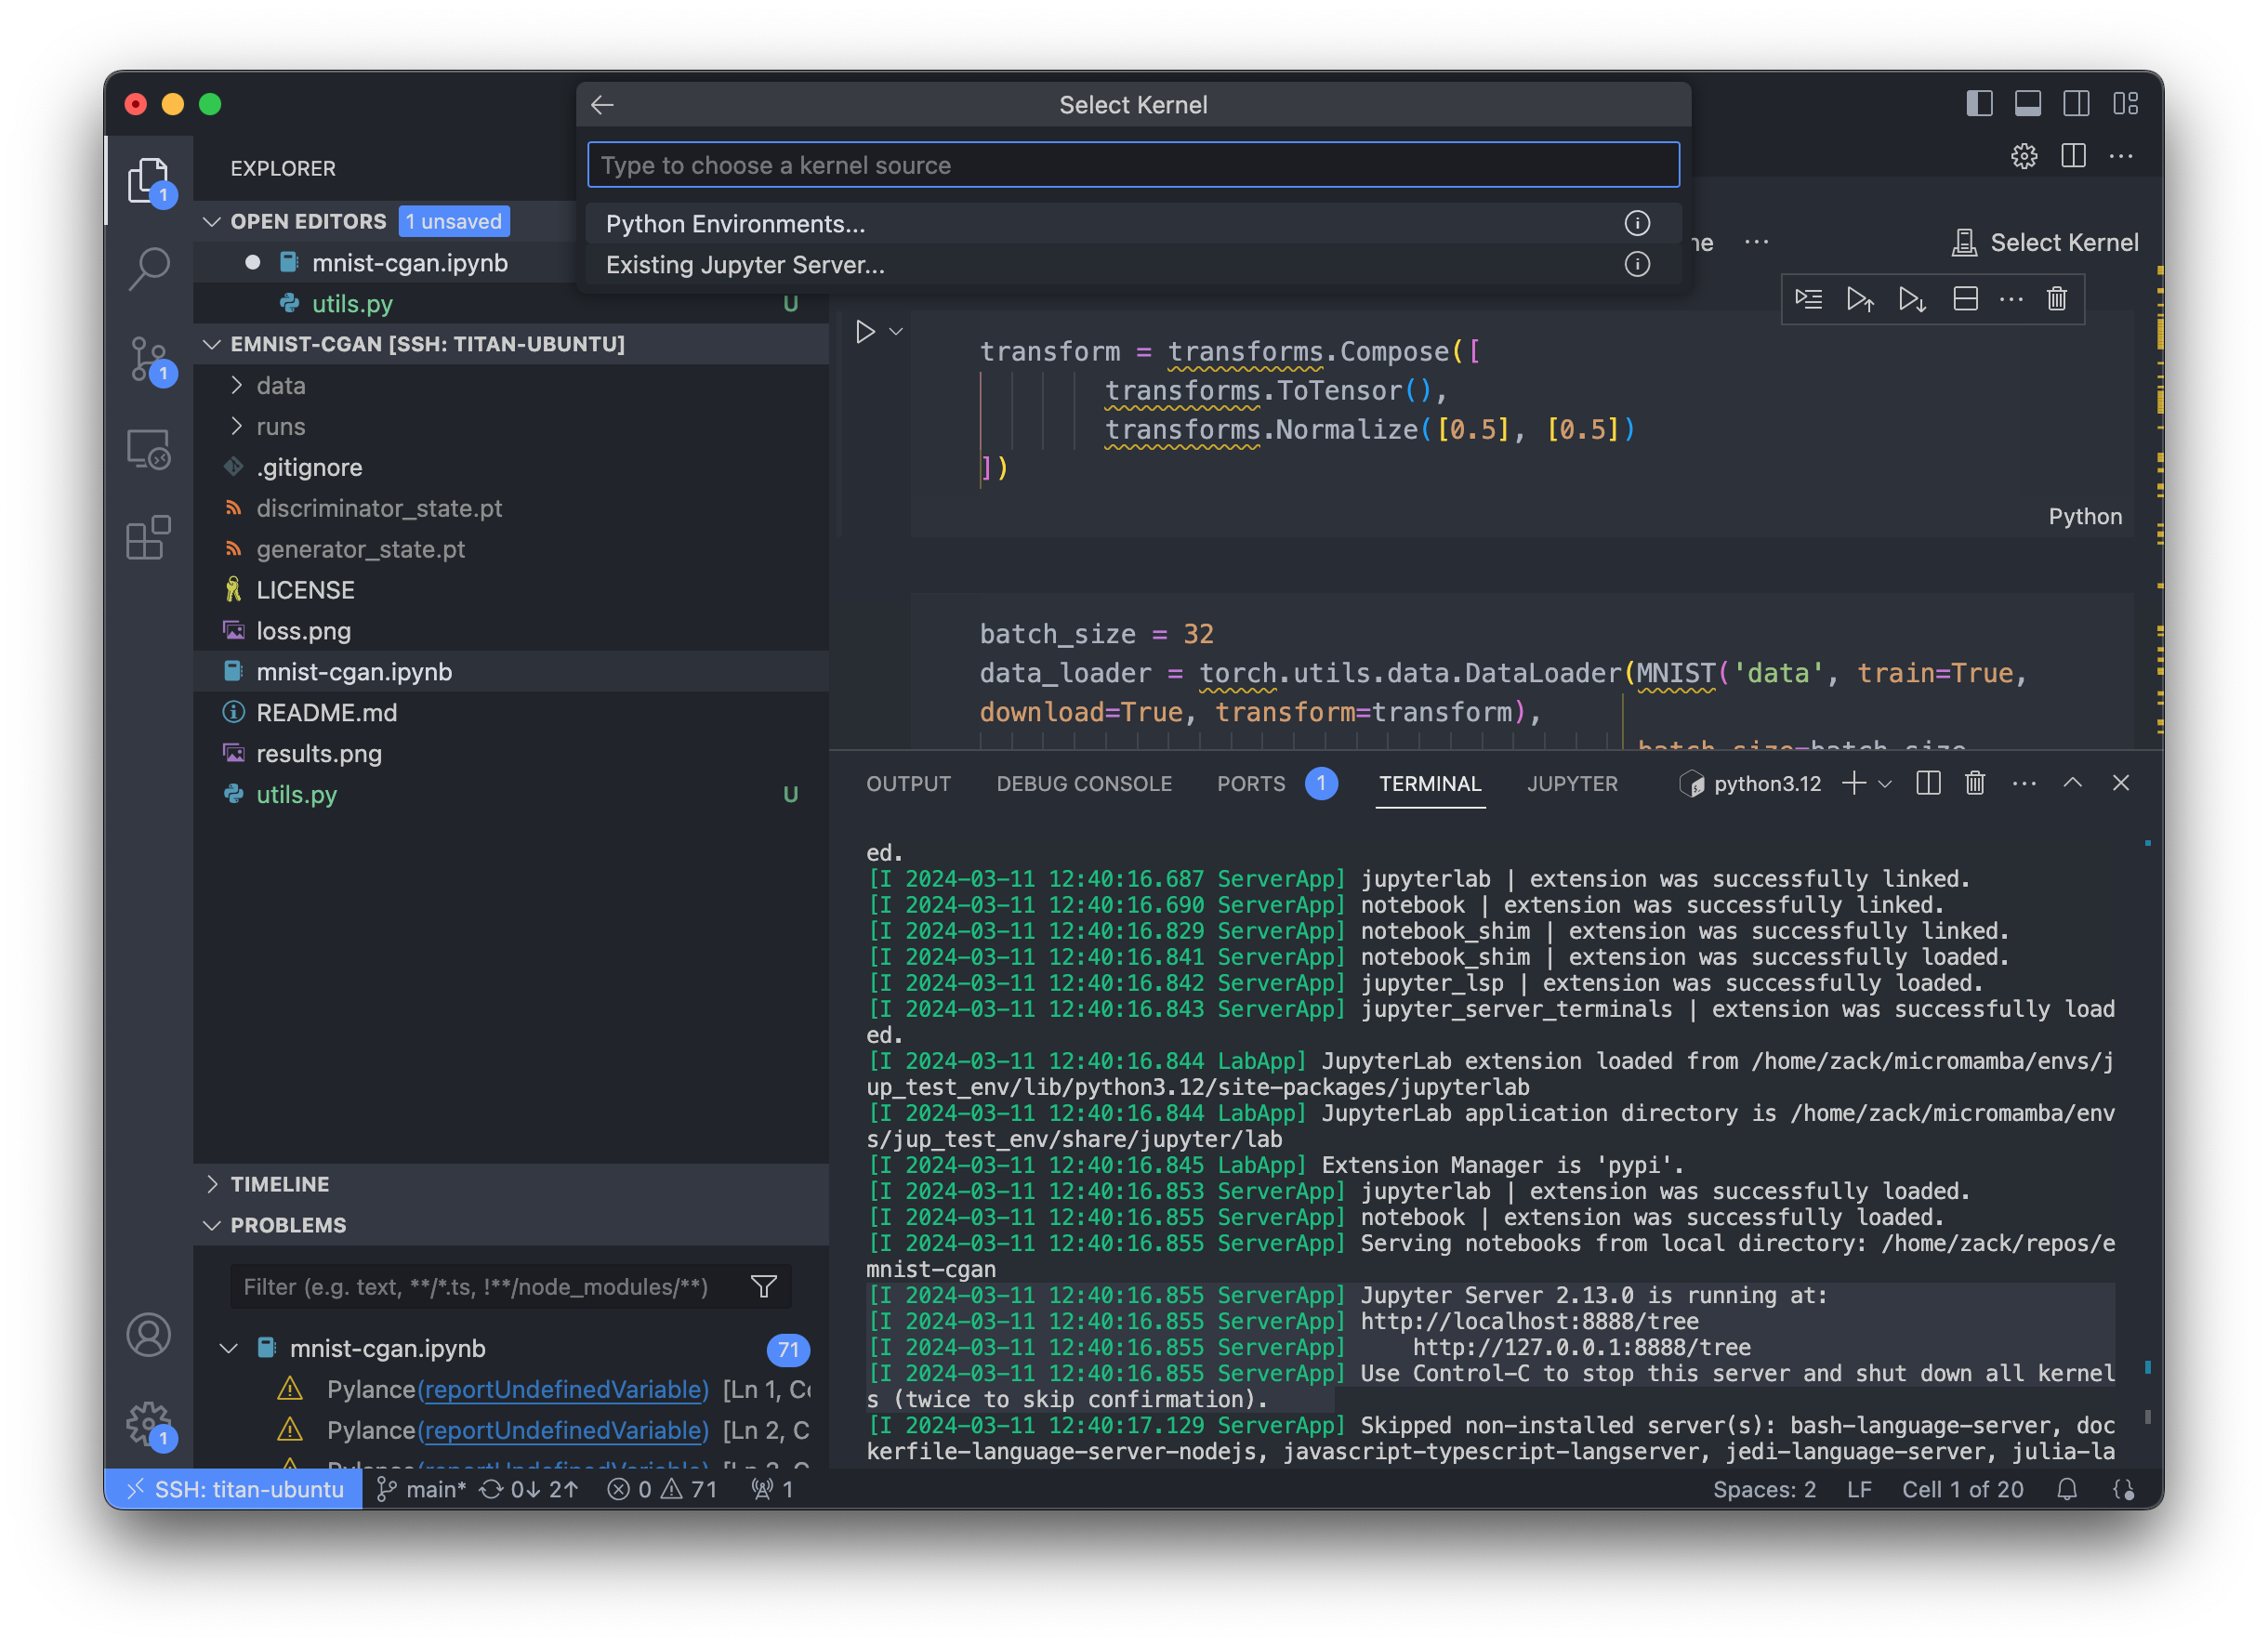
If you have the localhost url in your clipboard, it should automatically populate the remote url field. Hit Enter, write in your jupyter password, hit enter again. Name the server whatever you like (I just leave it localhost). Then select the kernel that appears below the input field.
When that connects, you're ready to go.
If you want to add additional packages, you can open a new terminal and drop into project env, or in a jupyter cell use the "Magic" command %micromamba install <package>. Either way, you'll need to click "Restart Kernel" at the top of the notebook viewer.
PyTorch/CUDA for older cards
I'm using a GTX Titan X, which is pretty old at this point, so I had to try a couple of PyTorch's previous versions before I found one that worked. I could quickly test each attempt with this one-liner:
python -c "import torch; print(torch.cuda.is_available())"
I had success with PyTorch 2.1.2 and CUDA 12.1:
micromamba install pytorch==2.1.2 torchvision==0.16.2 torchaudio==2.1.2 pytorch-cuda=12.1 -c pytorch -c nvidia
Fresh Environment Shortcut
That's a lot to remember, so I ended up creating a function in my desktop's .bashrc to build and activate one of these environments:
juptorchenv() {
  micromamba create -n \
  # name the new environment
  $1 \
  # basic packages
  python=3.9 \
  jupyter \
  pytorch==2.1.2 torchvision==0.16.2 torchaudio==2.1.2 pytorch-cuda=12.1 \
  -c pytorch -c nvidia \
  # any additional packages
  $2 \
  # activate the new environment
  && micromamba activate $1
}
Now I can set up a new PyTorch environment with juptorchenv my_env_name.
Classic Mode
Before I figured out the VSCode workflow, I used a more standard jupyter-in-browser setup. That was more customizable in some ways, and definitely more transparent.
On the server side it was almost exactly the same, except that I used jupyterlab and jupyterlab-git to give the browser interface a bit more power. On the client side there were a couple of extra commands:
After the jupyter server was running, set up the tunnel from the client:
ssh -NfL 8888:localhost:8888 me@big-computer && open http://localhost:8888
And to free up port 8888 after you're done:
lsof -t -i:8888 | xargs -r kill